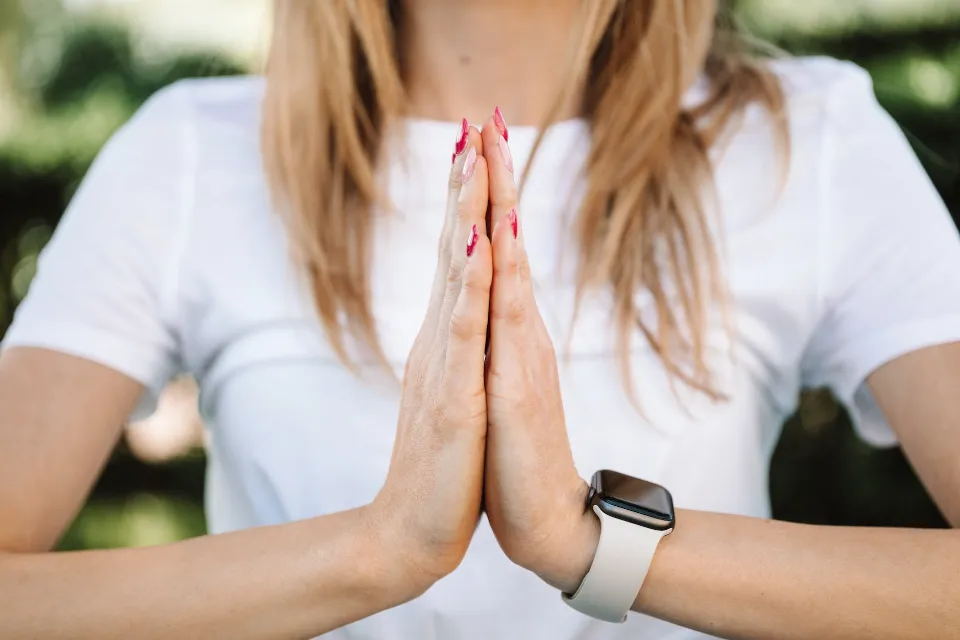
One of the most significant and frequently used parts of our bodies, our hands are prone to a number of strains and injuries. It’s crucial to safeguard them as a result, which is where hand yoga comes in.
You might not realize it, but a significant portion of the yoga library consists of hand postures. Also known as ” Mudras”, the collection of these hand postures is believed to facilitate the flow of healing energy (called prana in Sanskrit).
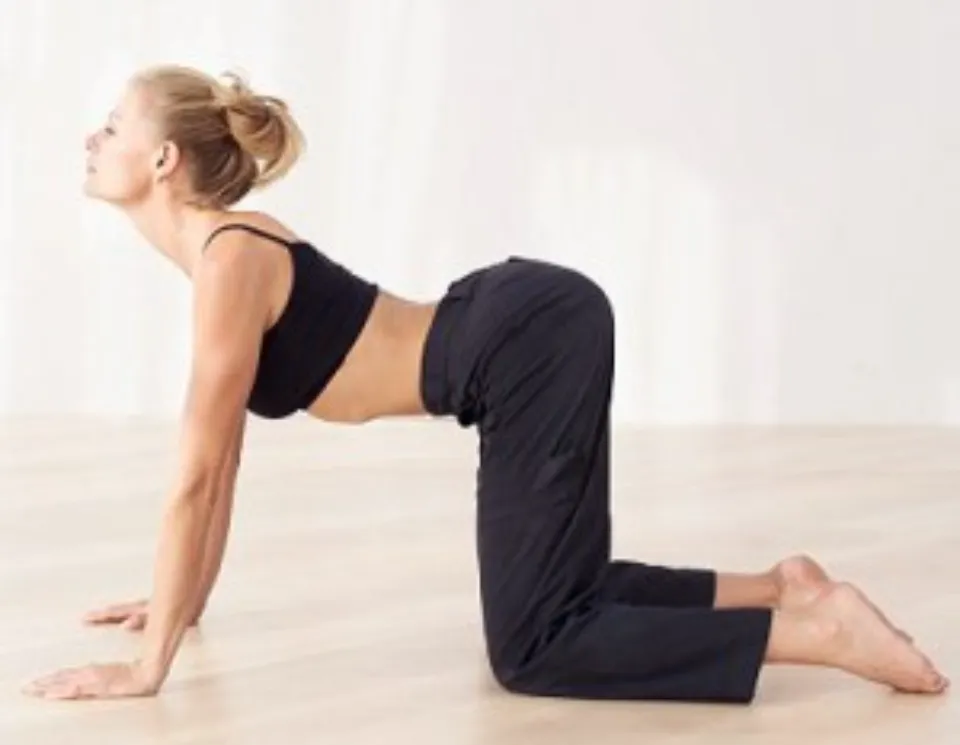
The exercises listed below are made to align your hands and wrists properly and direct them through a range of beneficial motions. You can build up your forearms, upper arms, and shoulders in addition to your hands and wrists by exercising them with care. Even though it’s a standalone exercise done against a wall, you can easily incorporate the movements that you find most helpful into your regular yoga practice. I can also recommend poses that can incorporate these motions.
Table of Contents
Advantages: Yoga for the Hands is An Effective Ease Option
Relieve Stress and Promote Emotional Balance
Hand yoga has numerous emotional and psychological advantages in addition to its physical advantages.
Yoga encourages relief from emotional tension, anxiety, and stress while also causing the release of feel-good endorphins to further improve your mood. This is done by deliberately synchronizing specific body movements with breathing techniques.
Even better, you can practice many of these poses while lounging on the couch, working from your desk, lying in bed, or even while watching television.
Promotes Strength and Mobility
The muscles around the joints become longer and stronger through hand yoga exercises, giving them better support for everyday motions. This not only lowers the chance of harm and injury but also increases the hands’, wrists’, and fingers’ flexibility and range of motion.
As will be discussed further below, your hands’ improved blood flow warms the muscles and ligaments, allowing you to move your hands more easily and with less risk of straining or overstretching them.
Promotes Blood Flow
The second benefit of hand yoga is that it stimulates more blood flow to the hands, fingers, and wrists by encouraging dynamic movement throughout these areas. The supply of oxygen and nutrients that circulate around the joint membranes is then increased, which is necessary to maintain the health of the cells.
Additionally, this promotes the flow of synovial fluid, which is necessary for lubricating and cushioning the joints in our hands, wrists, and fingers and ensuring smooth motion.
Protect Against Injury
At some point in our lives, all of us are likely to sustain a hand, finger, or wrist injury of some kind, some of which are more serious than others. Sprains, fractures, dislocations, pain, swelling, repetitive strain injuries, Carpal Tunnel Syndrome, and arthritis are among the most typical injuries.
Although there are many different reasons why these injuries happen, overuse, occupational tasks, repetitive motions with a restricted range of motion, and tension buildup are among the risk factors that are frequently present. An excellent remedy for these issues is hand yoga. Hand yoga stretches and releases the build-up of tension that can result in hand pain and injuries by placing your hand in gestures outside of its regular, repetitive range of movements.
4 Recommended Yoga Poses for the Hands
Stand Upright in Mountain Pose
with your palms facing forward and your arms by your side. Although your hands are not pressing into anything here, arrange them as if they are pressing into a flat surface with every knuckle, as well as with the inner and outer “heels” of the hands (the part of the palm near the wrist). Settling even your fingertips against this hypothetical surface will prevent you from hyperextending (i.e., curving your fingertips back toward you). Reach your fingertips toward the ground while keeping your shoulders up, back, and against your back. Do not deviate your wrists to “tick” your hands in toward your thighs or “tock” them out away from you, but rather arrange your hands so that each of your middle fingers follows an imaginary line running down the center of its respective forearm. Create a smooth plane between between your forearms and your hands, with no crease at the front or back of the wrist (avoiding any “kink in the hose” that interrupts the connection of your arms to your hands). Hold this posture for a number of breaths.
Stand Facing a Wall
Put your palms (with fingers pointing up and wrists parallel to the floor) on the wall in front of you at shoulder height and about shoulder distance apart. Thumbs tucked between the index fingers, bring your fingers together. This hand position has the potential to widen the palms more effectively than just spreading the fingers out, especially the heels of the palms just above the wrists. It also has the potential to move your thumb deeply into its socket. Make sure to bring the tips of your thumbs up against the sides of your index fingers rather than hyperextending them. Press both of your hands into the wall as firmly and evenly as you can while keeping your shoulders up, back, and against your back. You want the bases of your index fingers (and, in fact, the bases of all of your fingers and thumbs!) to press against the wall—along with your knuckles, all of your fingertips, and the inner and outer heels of your hands. Can you press through the thumb knuckles? through the bases of both ring fingers? Holding your hands firmly against the wall for several breaths.

Turn Your Fingers to Face Down
Turn your fingers to face down (or out to the sides if they don’t turn down all the way), keeping your palms facing the wall as you continue to work. Root through as much of the hands as you can, starting with the fingertips and knuckles, moving on to the bases of the fingers, and gradually shifting weight toward the heels of the hands while keeping your shoulders in place and trying to avoid letting your elbows hyperextend or veer in toward each other. Several breaths should be taken here.
Lengthen Both Arms Out in Front of You at Shoulder Height
Holding your invisible platter once more, turn the palms upward. Keeping the line from the back of your hand to your forearm smooth (no wrist creases), draw your index fingers and thumbs together like jnana mudra—lengthening your other fingers without hyperextending them, as if sending beams of light straight ahead through your fingertips. Draw your middle fingers toward your thumbs while extending your index fingers once more. until you reach your pinky fingers, go finger by finger.
Final Thoughts
Our hands and wrists can become sore from using computer keyboards, tapping away on smartphones, driving, cooking, and engaging in hobbies like knitting or foosball. Yoga practice can also be taxing on these areas. Although palms on the floor with fingers forward, or planks, is the most popular form of wrist extension practiced in yoga, it is only one of many poses that allows hands to practice weight bearing. The reverse hapkido salutation, peacock pose, and hands-on-feet pose can all be beneficial at times.